 Welcome to the Skeptical Science Widgets page.
Here you can configure and acquire any widgets provided by the Skeptical Science team.
Check back on occasion, as we hope to make more and more widgets available over time.
Welcome to the Skeptical Science Widgets page.
Here you can configure and acquire any widgets provided by the Skeptical Science team.
Check back on occasion, as we hope to make more and more widgets available over time.
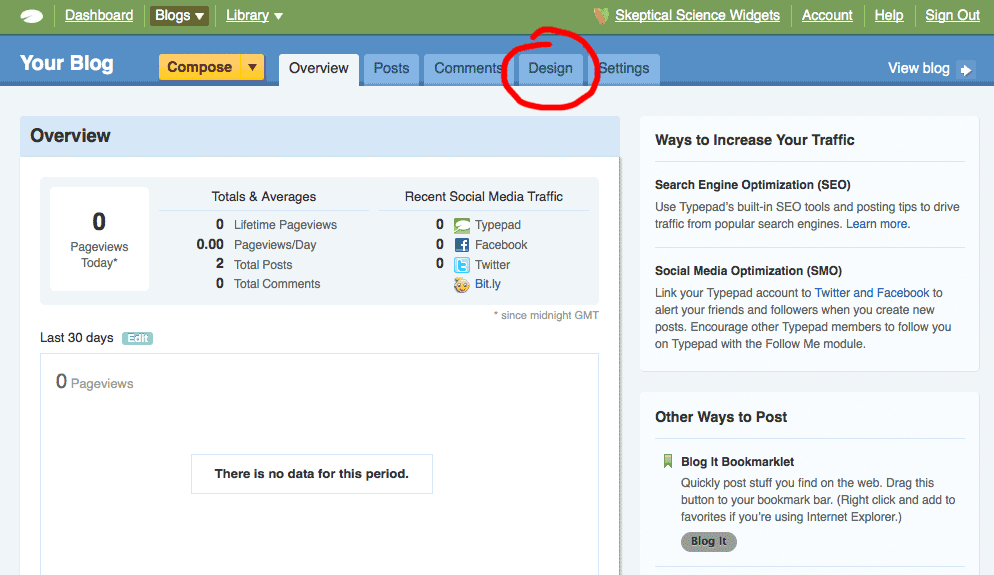
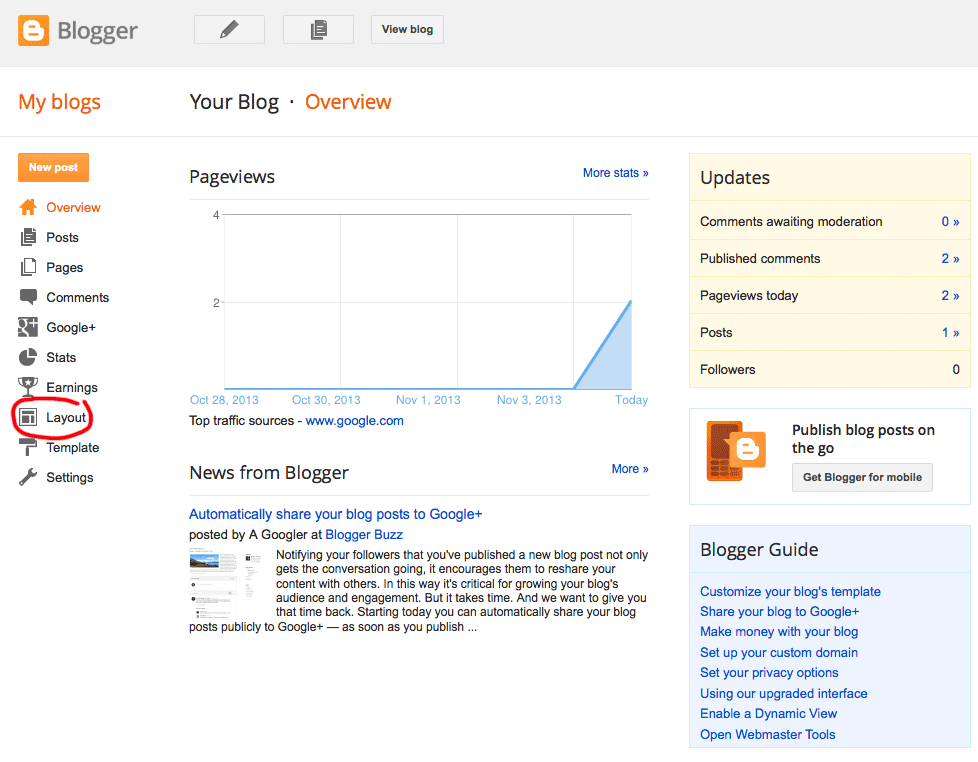
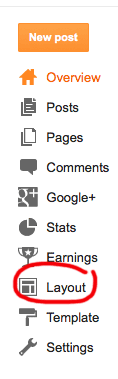
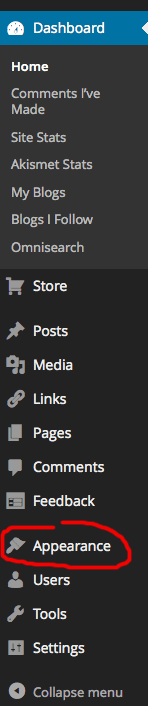
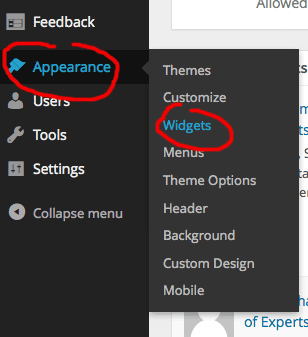
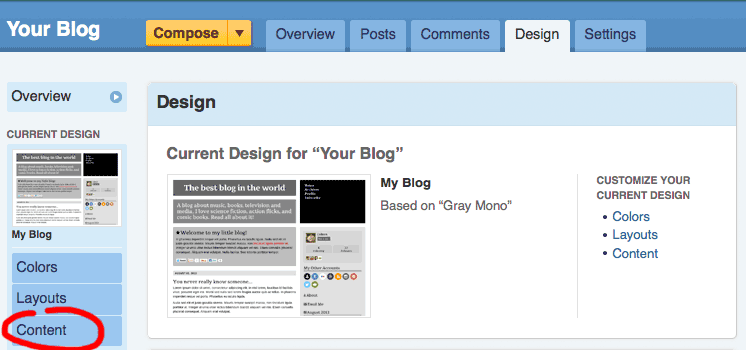
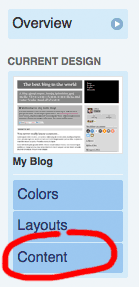
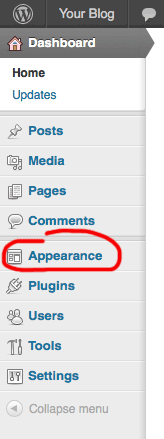
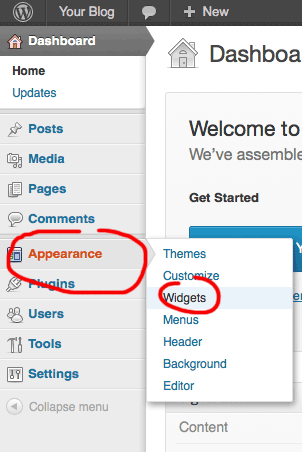
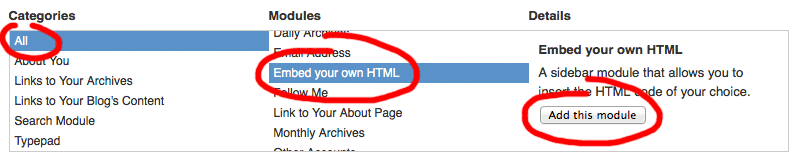
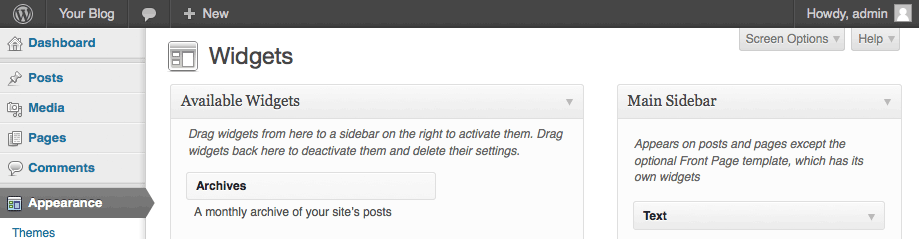
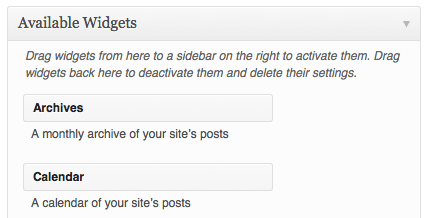
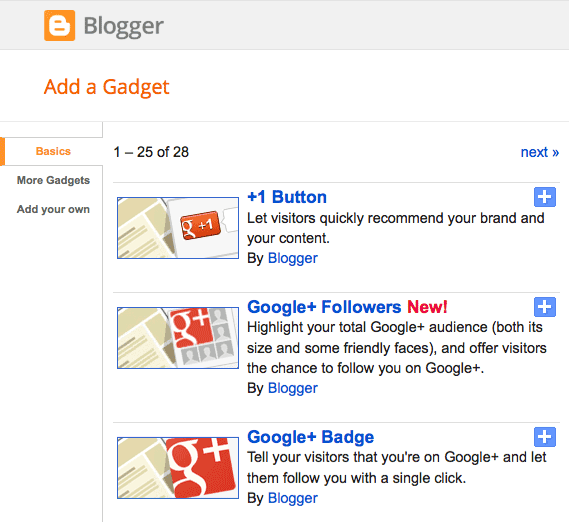
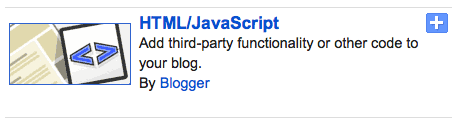
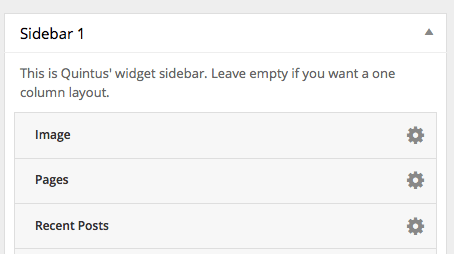
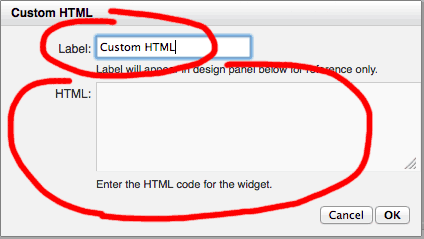
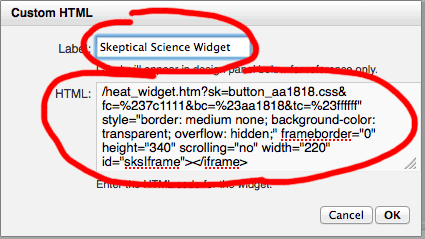
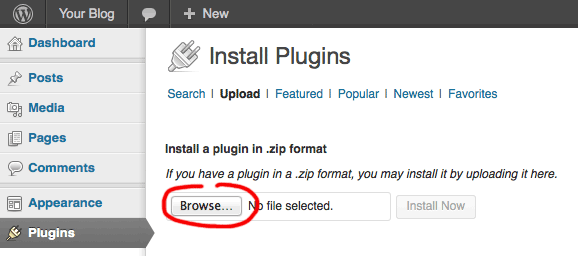
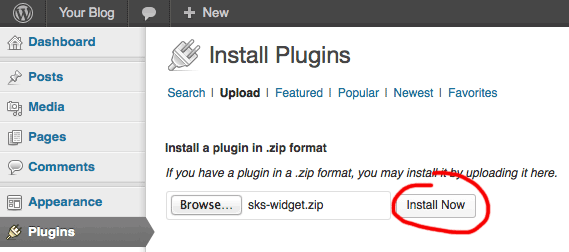
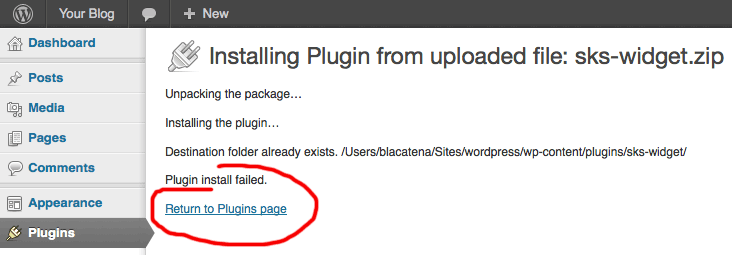
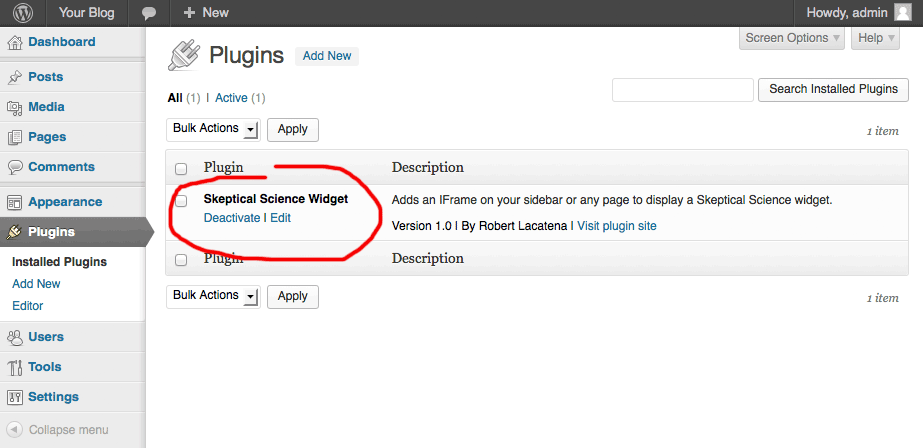
Instructions
Learn More
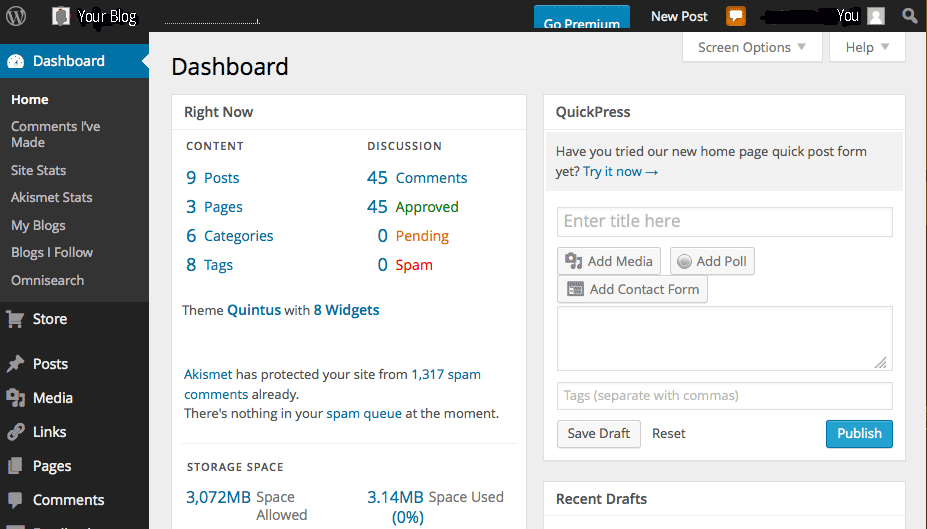
WordPress.com
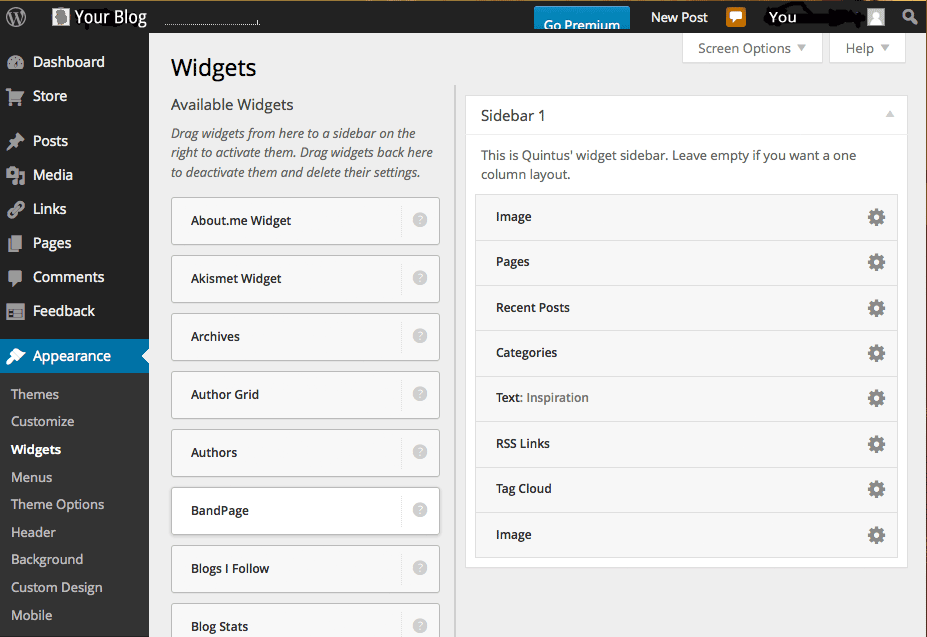
Please note that true widgets are not available for wordpress.com accounts, only for self-hosted WordPress blogs. WordPress.com will not allow either iframes or javascript in their pages, so they will not allow true widgets to be hosted on blogs that they host. Their own advice is that if you want to host such widgets, you should move your blog to a provider which allows it, such as Blogger (blogspot.com) or TypePad.
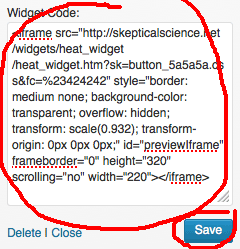
As a compromise, Skeptical Science offers a static widget image (a picture of the widget) which, when clicked, will visit the Skeptical Science 4 Hiroshimas web site. To get the appropriate static widget, simply configure the widget as desired and select "Wordpress.com" from the button.
Skeptical Science
What are Widgets?
What are the SkS Widgets?
Why Host Widgets?
Why Not WordPress.com?
The careless use of iframes or javascript in a blog could, in theory, result in site hacks, particularly phishing attempts to gather passwords or other confidential information.
The Skeptical Science widgets are guaranteed to be safe. They do nothing more than what they claim to do, displaying valuable climate facts to your visitors. Nonetheless, Wordpress.com will not allow them to be carried on blogs which they host.
Here's the explaination from Word Press themselves
As a compromise, Skeptical Science offers a static widget image (a picture of the widget) which, when clicked, will visit the Skeptical Science Heat Widget Facebook Application. To get the appropriate static widget, simply configure the widget as desired and select "Wordpress.com" from the button.
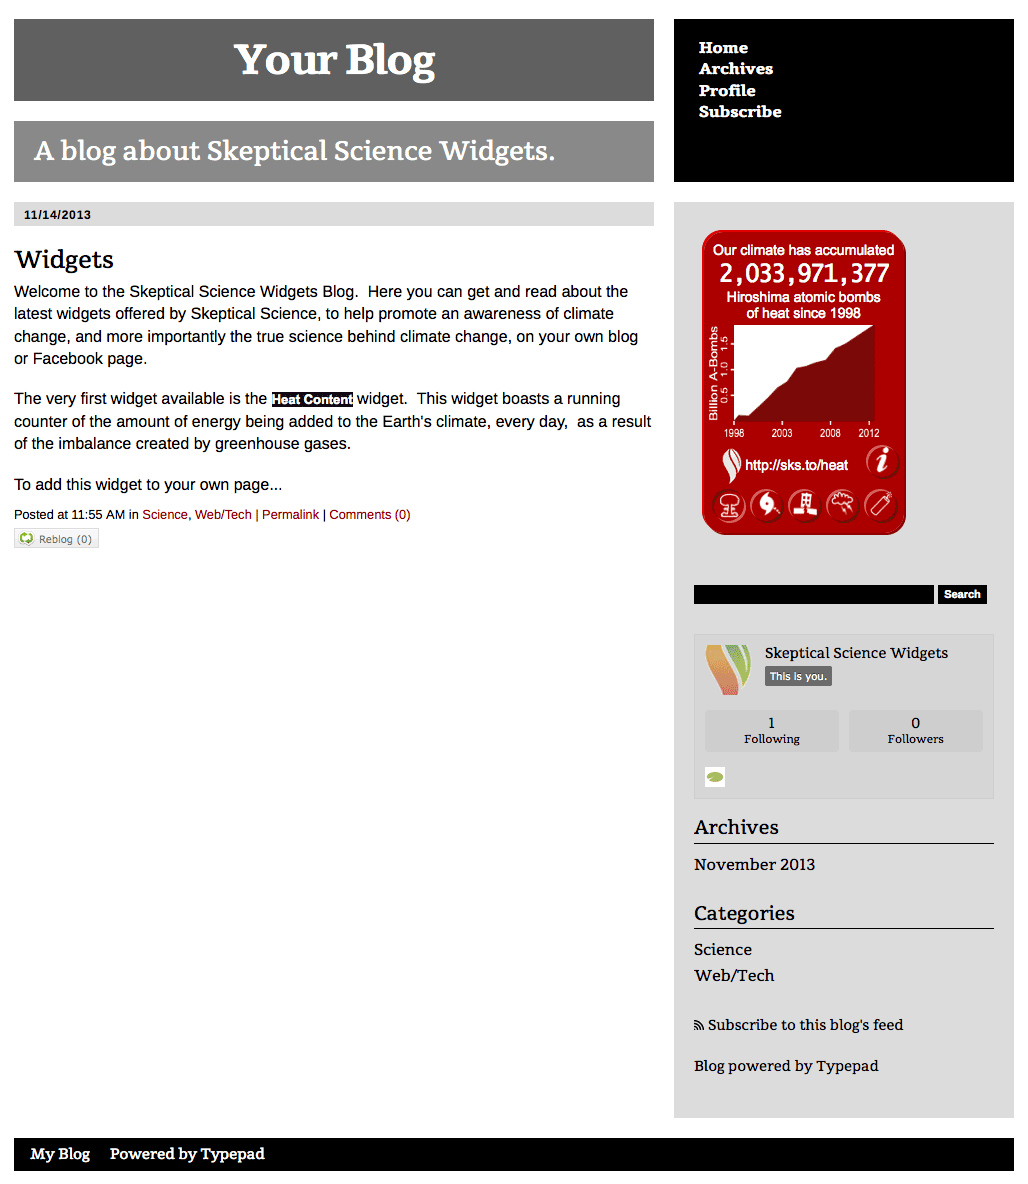
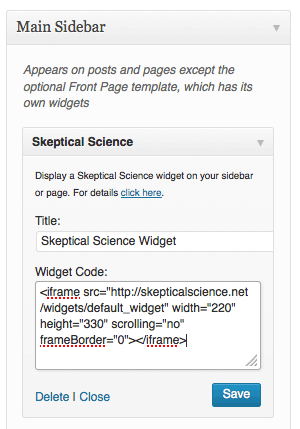
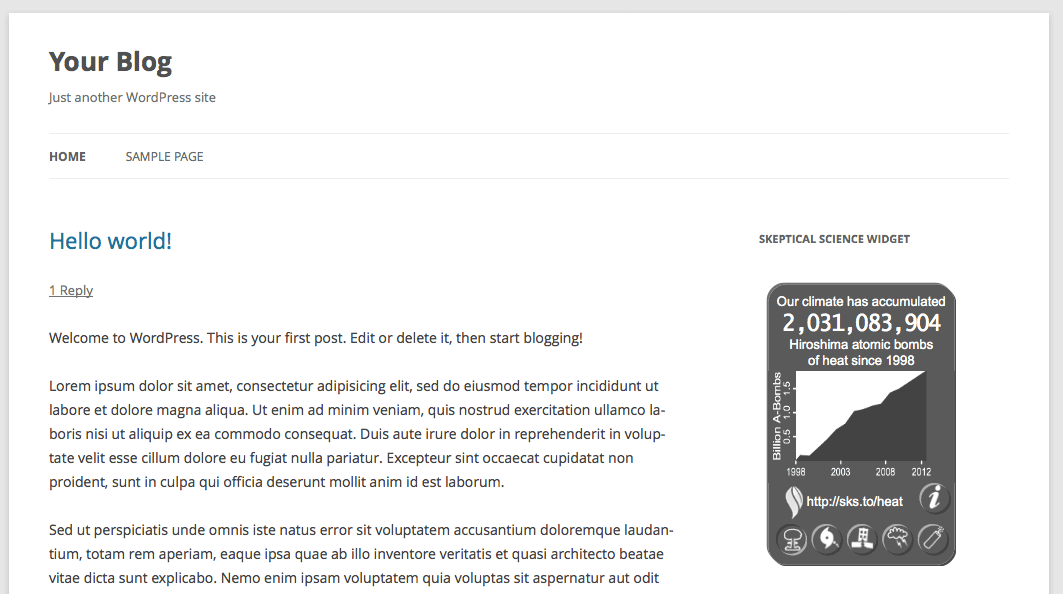
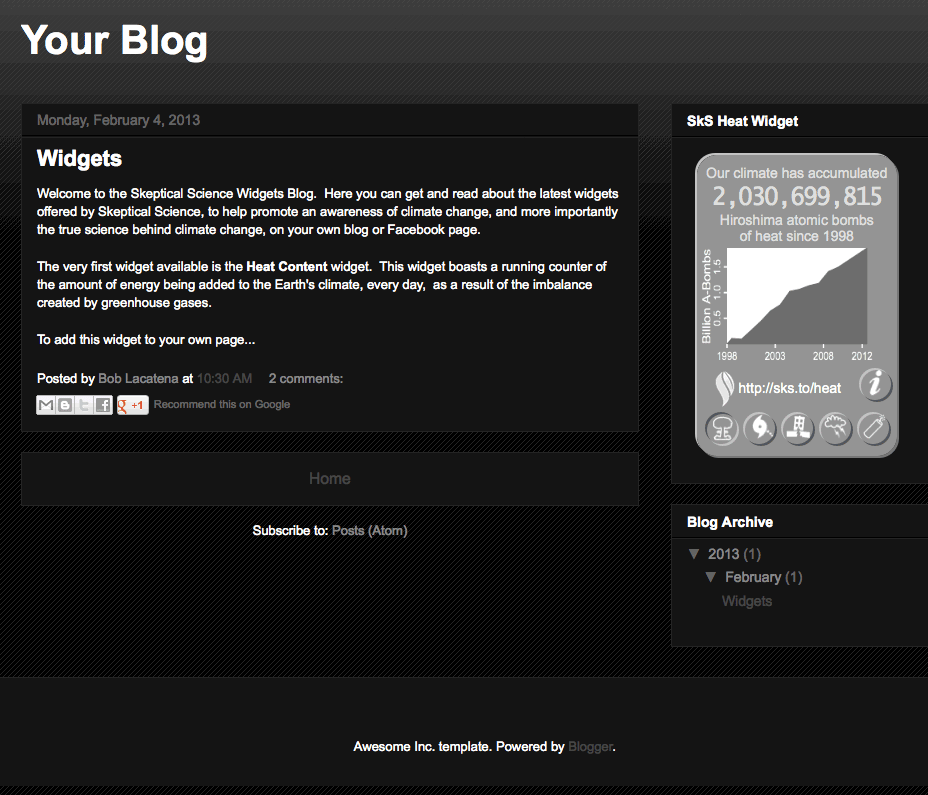
The Heat Content Widget 
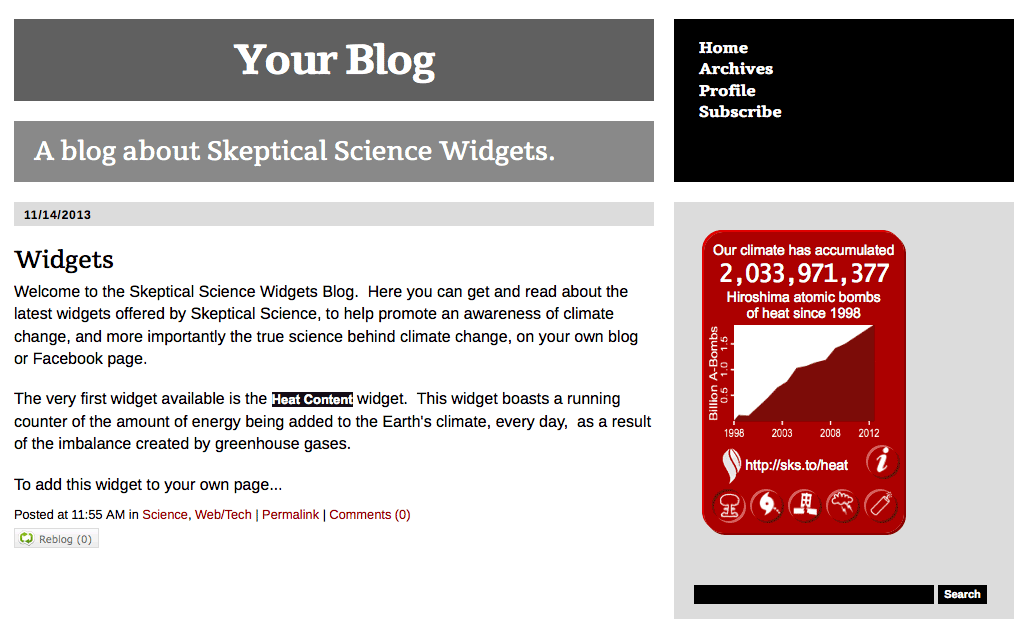
The Skeptical Science Heat Content Widget graphically demonstrates the continual buildup of heat energy in the Earth's climate system (including the atmosphere, oceans and ice melt), demonstrating exactly how large the effects of climate change are in a metric which is meaningful to the average person. It also demonstrates that despite day-to-day and seasonal fluctuations in weather, or year-to-year fluctuations in climate do to natural variation, the overall impact of greenhouse gases, meaning the continual, ceaseless accumulation of extra energy by the climate system continues unabated.
By hosting the Heat Widget on your blog, you will be communicating to your visitors in a tangible, dynamic way exactly how serious climate change will become if we simply continual business as usual without a reasoned respect for the impacts of our actions as a civilization.
To learn more about climate change and the heat build up in the Earth's climate system, visit 4hiroshimas.info.
The Top Ten Climate Myths Widget 
The Skeptical Science Top Ten Climate Myths Widget displays the top ten erroneous beliefs about climate change, with links to clear and concise explanations as to why each such myth is incorrect. Climate myths are repeated over and over in the media, on the Internet, and in everyday conversation. They perpetuate misunderstandings and misconceptions about the climate system, climate science, our understanding of the climate and exactly what is happening to the Earth as a result of greenhouse gases.
To learn more about the vast number of climate myths and to understand why each is wrong, visit the full list of climate myths at Skeptical Science.
 Big Bens
 Lightning Bolts
 Earthquakes
 Hurricane Sandys
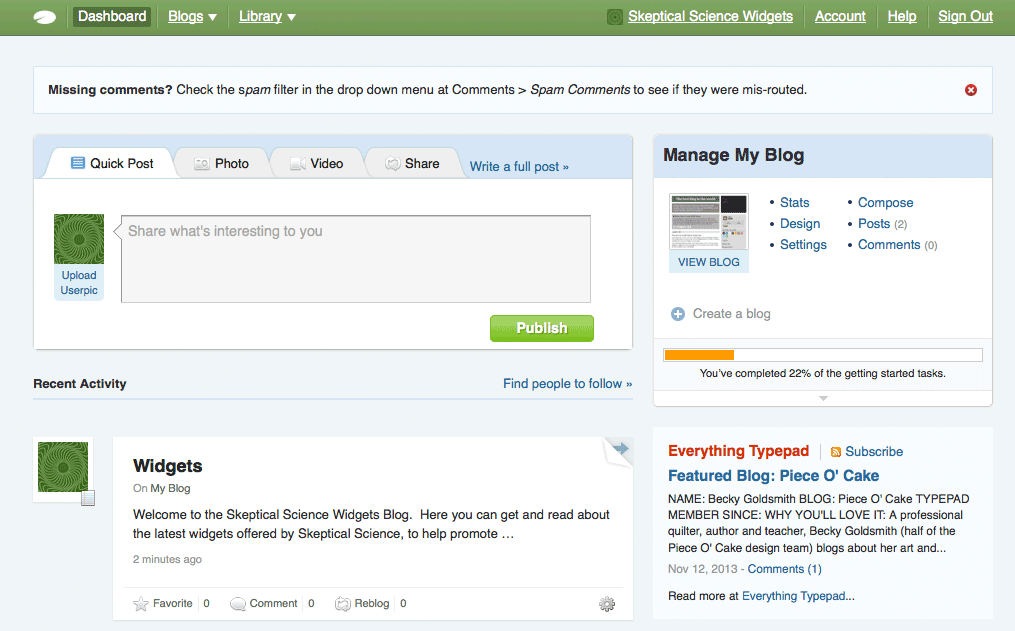
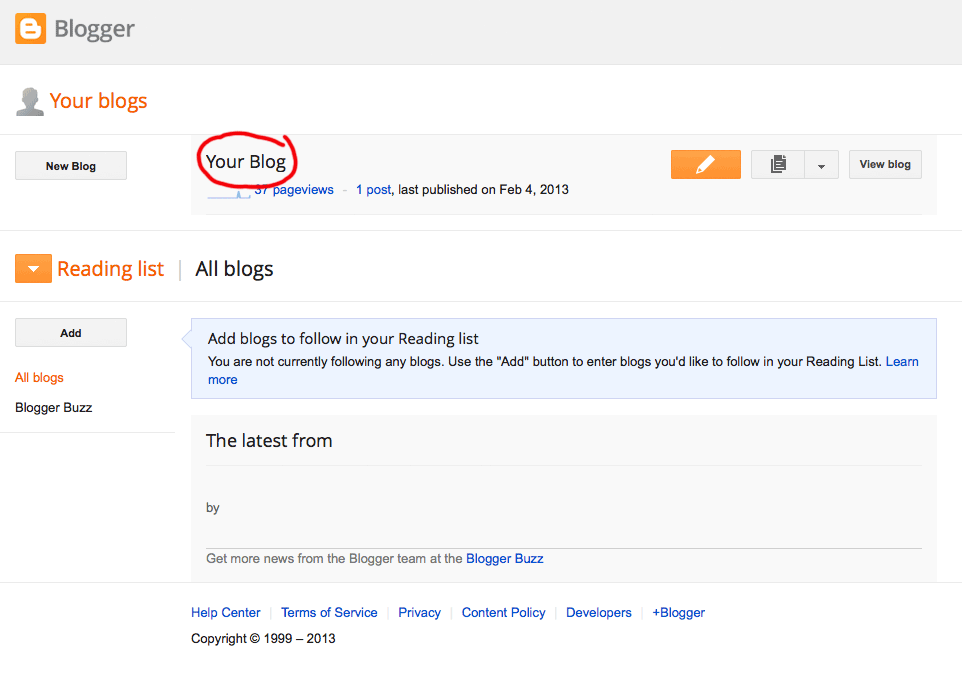
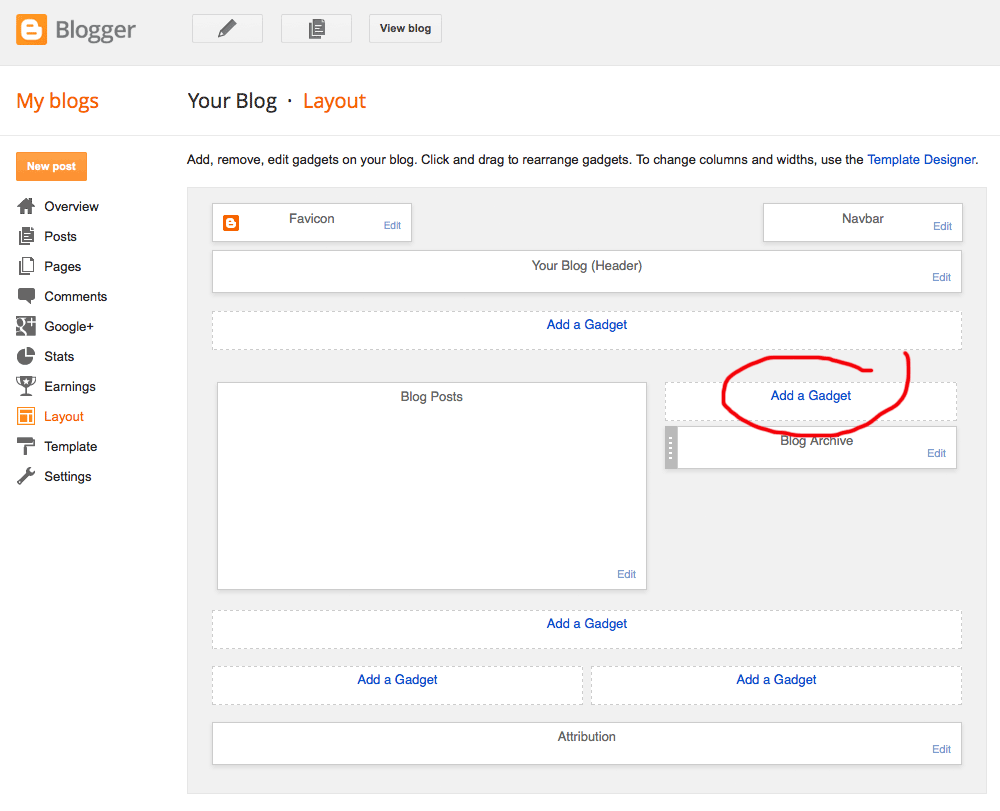
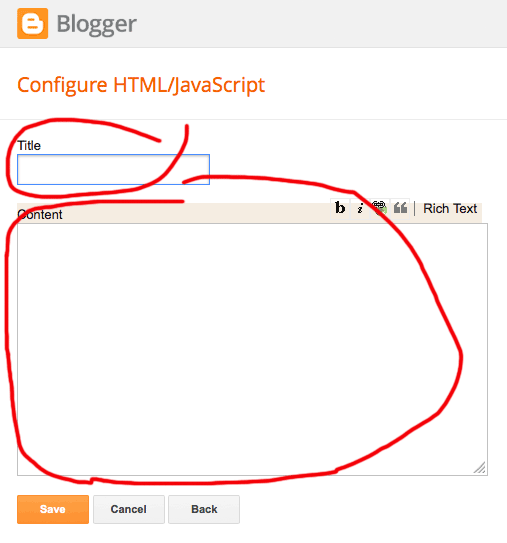
 Blogger (Blogspot)
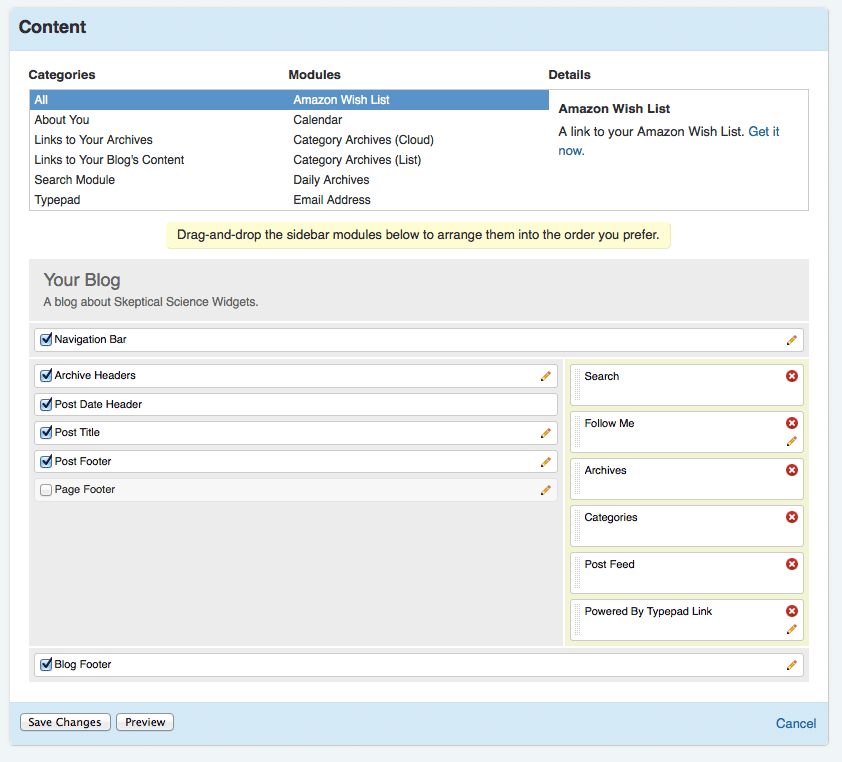
 TypePad
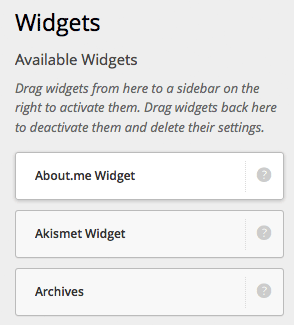
 WordPress